

Winter Feed Pinch: Practical Pastute Tips for Waikato Farmers
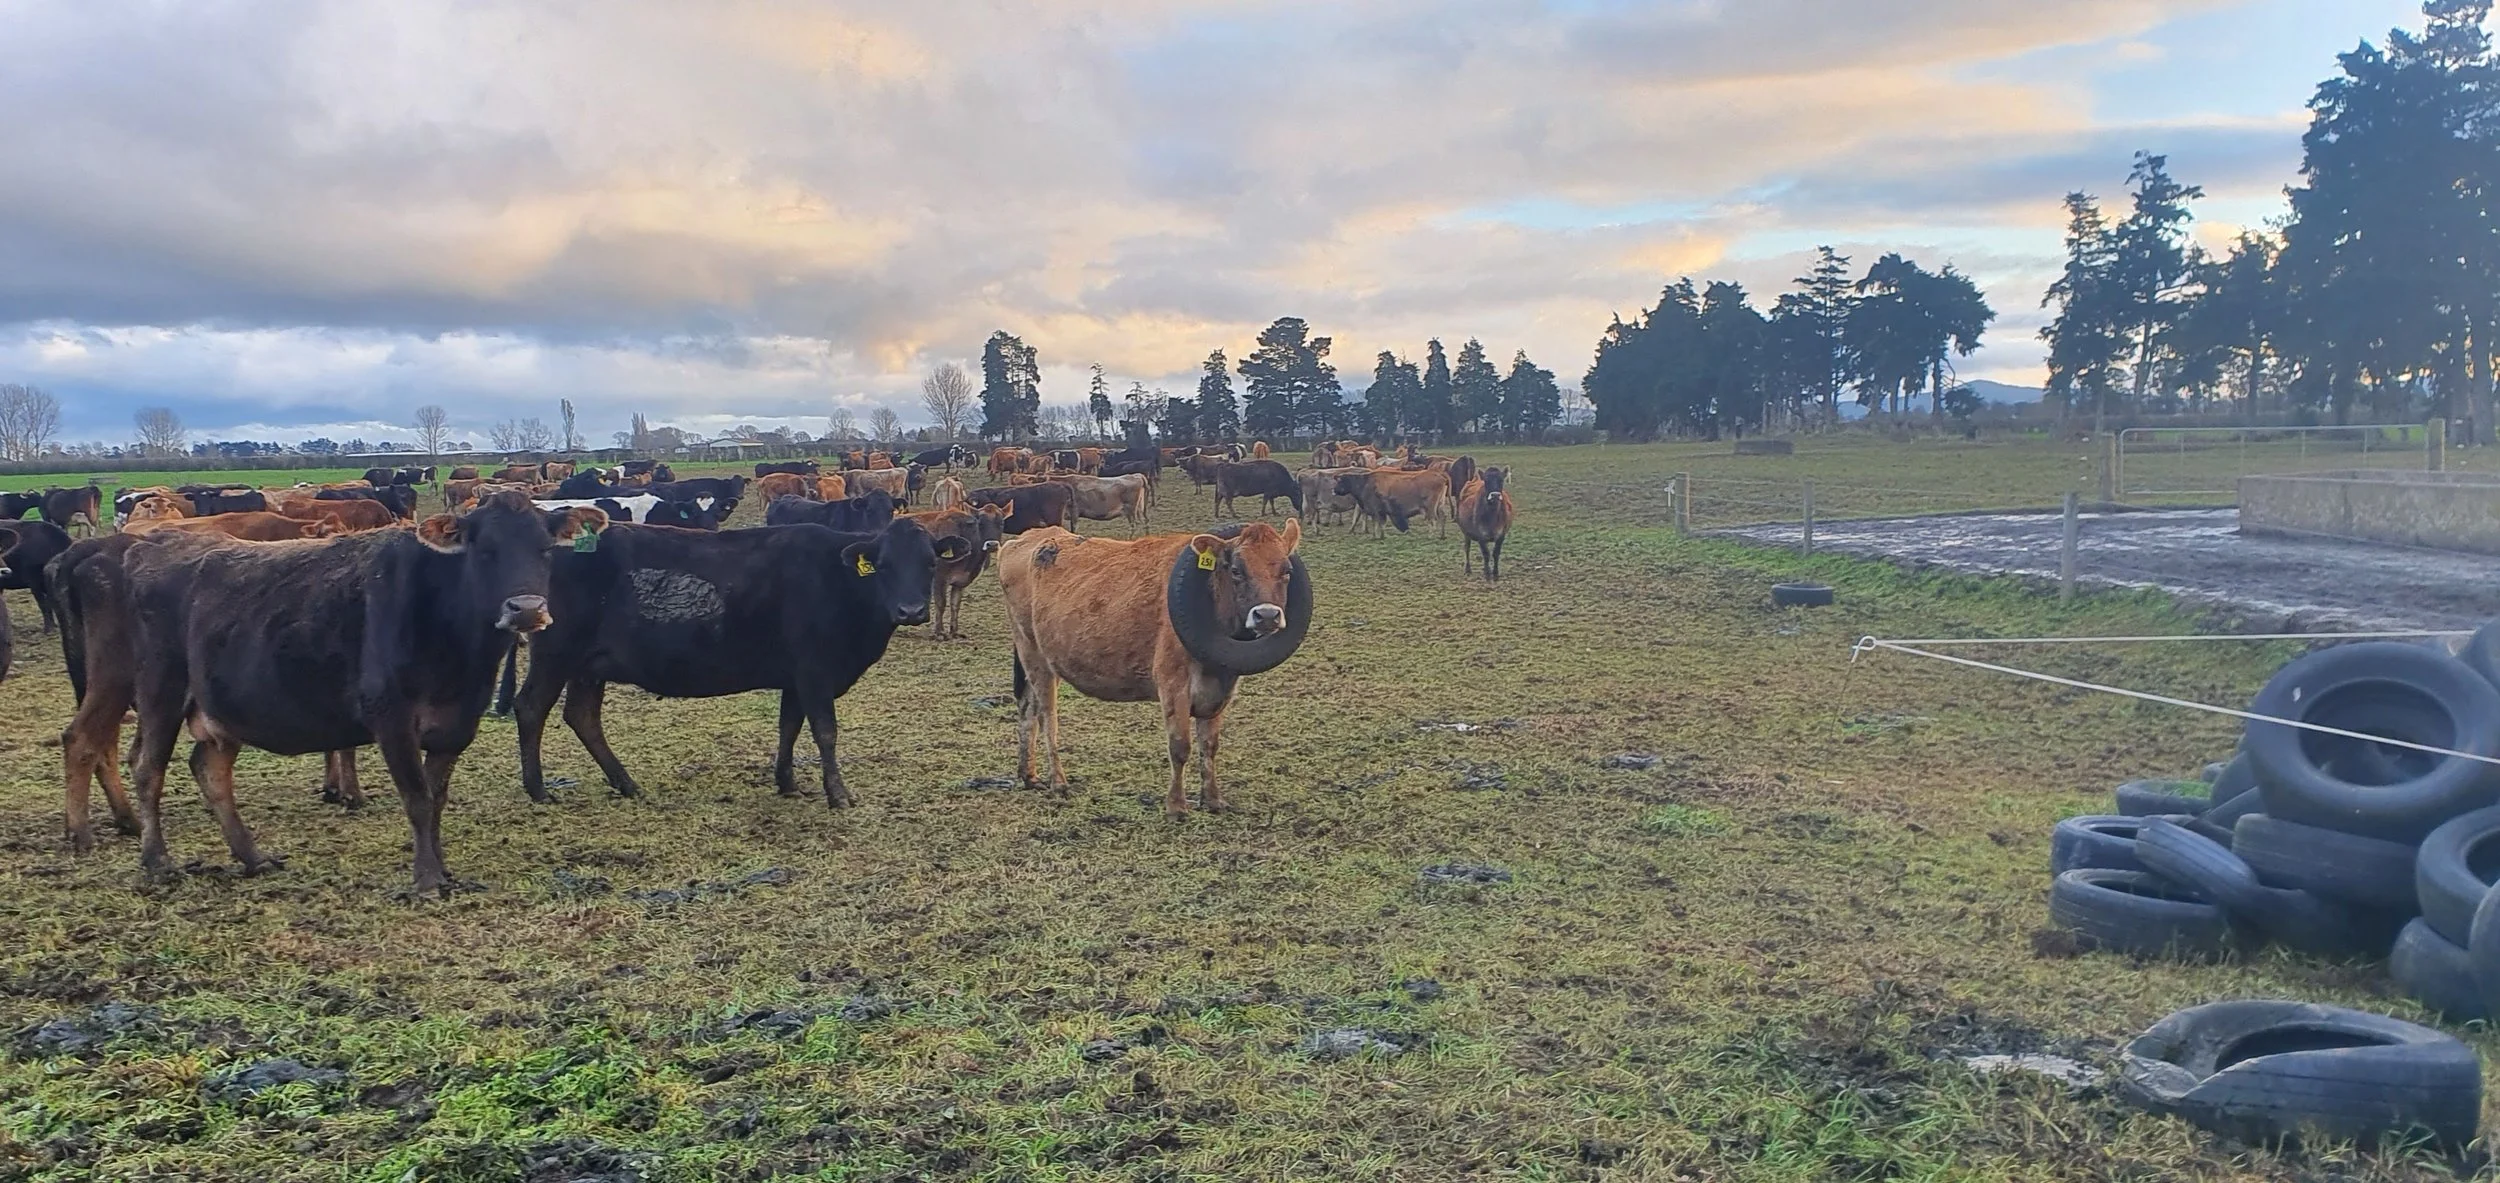
Calving has come on hard and fast this year, and back-to-back frosts have made the challenge even tougher. With pasture growth slowing just as feed demand spikes, many farmers are feeling the pinch. It can be tempting to open up the herd and give them more now, but sticking to the spring rotation planner is key to long-term success. Protecting regrowth early sets up stronger recovery and ensures pastures are in the best possible condition heading into balance date.

Seasonal Outlook: What the Experts Are Saying
According to NIWA’s latest forecast, New Zealand is sitting in ENSO-neutral conditions — neither El Niño nor La Niña. That means we’re not expecting the climate extremes those phases usually bring. Temperatures are forecast to sit above average into spring, though cold snaps and frosts will still occur. Rainfall is expected to vary by region, with some areas facing wetter conditions than usual.
For farmers, this outlook suggests that while growth has slowed now, pastures are likely to bounce back as conditions warm through late winter and early spring.
Boosting Pasture Growth

Short-term tools can help bridge the gap. ProGibb is an excellent way to stimulate pasture growth when covers are under pressure. By encouraging leaf elongation, it can quickly add extra feed. Combining ProGibb with a weed spray is both economical and effective — giving you more grass while keeping weeds from competing for nutrients.
Practical Strategies to Manage a Feed Deficit
Alongside growth boosters, there are several proven ways to manage tight feed supply through calving:
Stick to the rotation planner – Protect regrowth and avoid running out of grass before balance date.
Manage residuals carefully – Keeping post-grazing residuals consistent prevents setbacks in regrowth.
Prioritise crops and supplements – Where available, make use of maize silage, baleage, or PKE to ease pressure on pasture.
Use sacrifice paddocks – If necessary, allocate a small area to avoid damaging the whole farm.
Weed control – Knocking back broadleaf weeds now ensures nutrients go to the pasture you need most.
Plan around soil conditions – Manage grazing to reduce pugging and protect paddock structure in wetter areas.
Looking Ahead
Every decision now affects how quickly farms recover towards balance date. Holding firm to the spring rotation plan, making smart use of growth regulators, and managing supplements wisely will all contribute to a smoother transition. With neutral climate conditions and warmer temperatures on the horizon, pastures will get their chance to bounce back — the key is making sure they’re ready to respond.
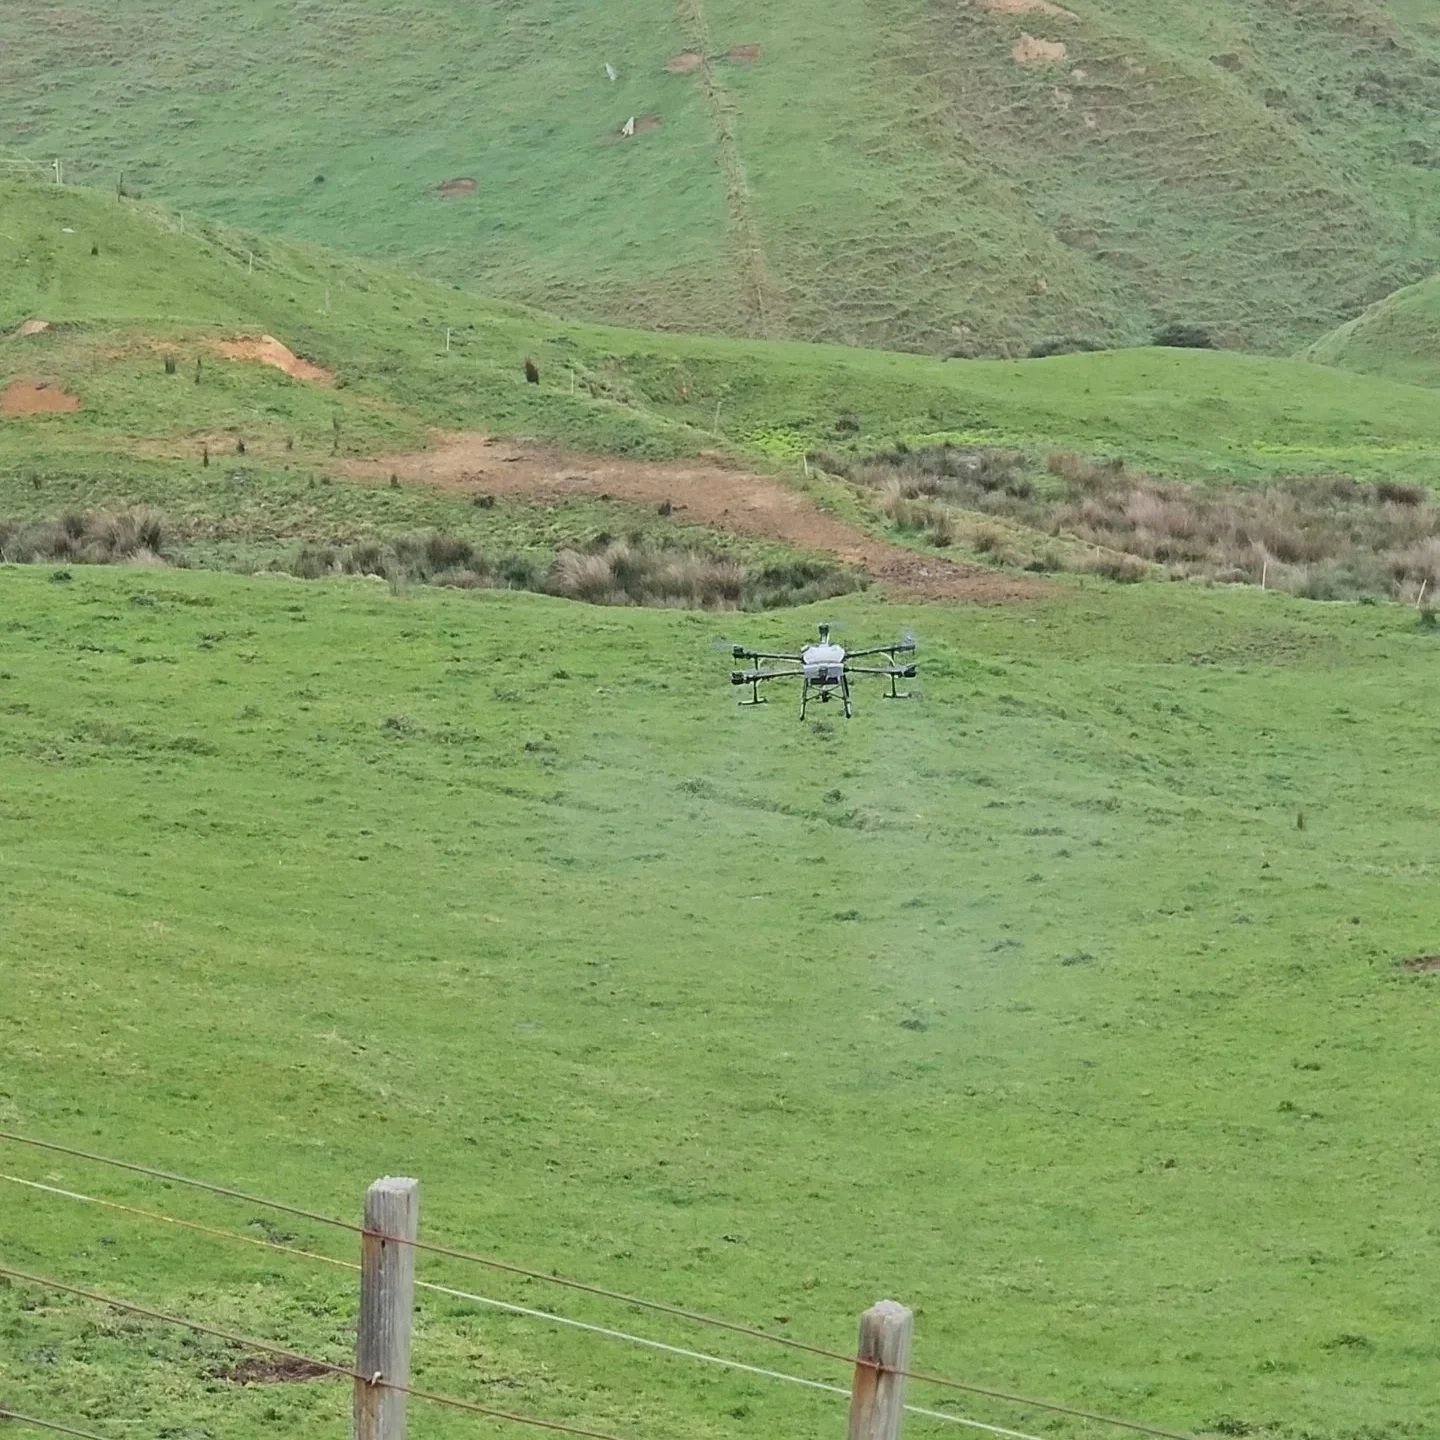
How Drone Spraying Helps

Winter weed spraying and growth regulator applications can make all the difference in setting up strong pastures. Using a drone sprayer in Waikato is often the most efficient way to get the job done, especially in wet paddocks or on steep ground where tractors struggle. Drones cover ground quickly, reduce compaction, and deliver precise application rates, ensuring every hectare counts. For farmers looking to save time and maximise pasture growth, drone spraying is a practical and effective option this season.

Calving Chaos! Why Waikato Farmers Are Planning Drone Spraying Jobs Now
It all begins with an idea.
It’s calving season, and that means long days, late nights, and plenty on your plate. With pre-mating heats on the horizon and the weather still keeping everyone on their toes, it’s tempting to push things like paddock prep or weed control to the back burner.
But more and more farmers across the Waikato are taking a different approach — getting their drone spraying jobs booked now so they’re not caught out later when spring growth takes off.
Cropping Blocks & Pasture Planning
August is a good time to take stock of your farm and ask a few simple questions:
Are there paddocks that got hammered by wet conditions or stock pressure?
Are thistles or ragwort already starting to reappear?
What blocks are earmarked for cropping this spring?
Would a ProGibb application get early grass moving before pre-mating?
Getting your paddock list together now gives you more options when the season kicks off properly. Jobs can be booked ahead of time — and done when conditions are right, not when everyone else is trying to catch up.
Why More Waikato Farmers Are Using Drones
Drone spraying is gaining ground quickly across the country — especially in the Waikato. It’s fast, accurate, and doesn't damage wet or soft soils. For winter jobs, or early spring paddocks that are still borderline, drones offer a real advantage:
No risk of pugging or tracking
Minimal downtime between rain
Ideal for hilly or sensitive terrain
Quick and easy spot spraying
At JD Drone Services, we’ve already started winter spraying for farms prepping paddocks for ProGibb, dealing with early broadleaf, or just wanting to hit weeds before they flower.
A Calving Tip: Use the Book in Front of You
When you’re running on caffeine and broken sleep, even the simplest tasks can slip your mind. Fatigue affects memory — and during calving, your brain’s often running in survival mode.
That’s why your calving book — the one you’re already using to track cow and calf details — is the perfect place to jot a few quick notes on spraying.
If you spot a paddock that needs ProGibb, or notice thistles popping up near the fenceline, scribble it down next to the relevant day or paddock entry:
“Spray after calving”
“Book drone for Paddock 5 – Sept”
“Moss on herd home roof”
It only takes a few seconds, but having those reminders on paper (right where you already look 10 times a day) means you won’t forget them when things settle down.
Simple lists now = less stress later.

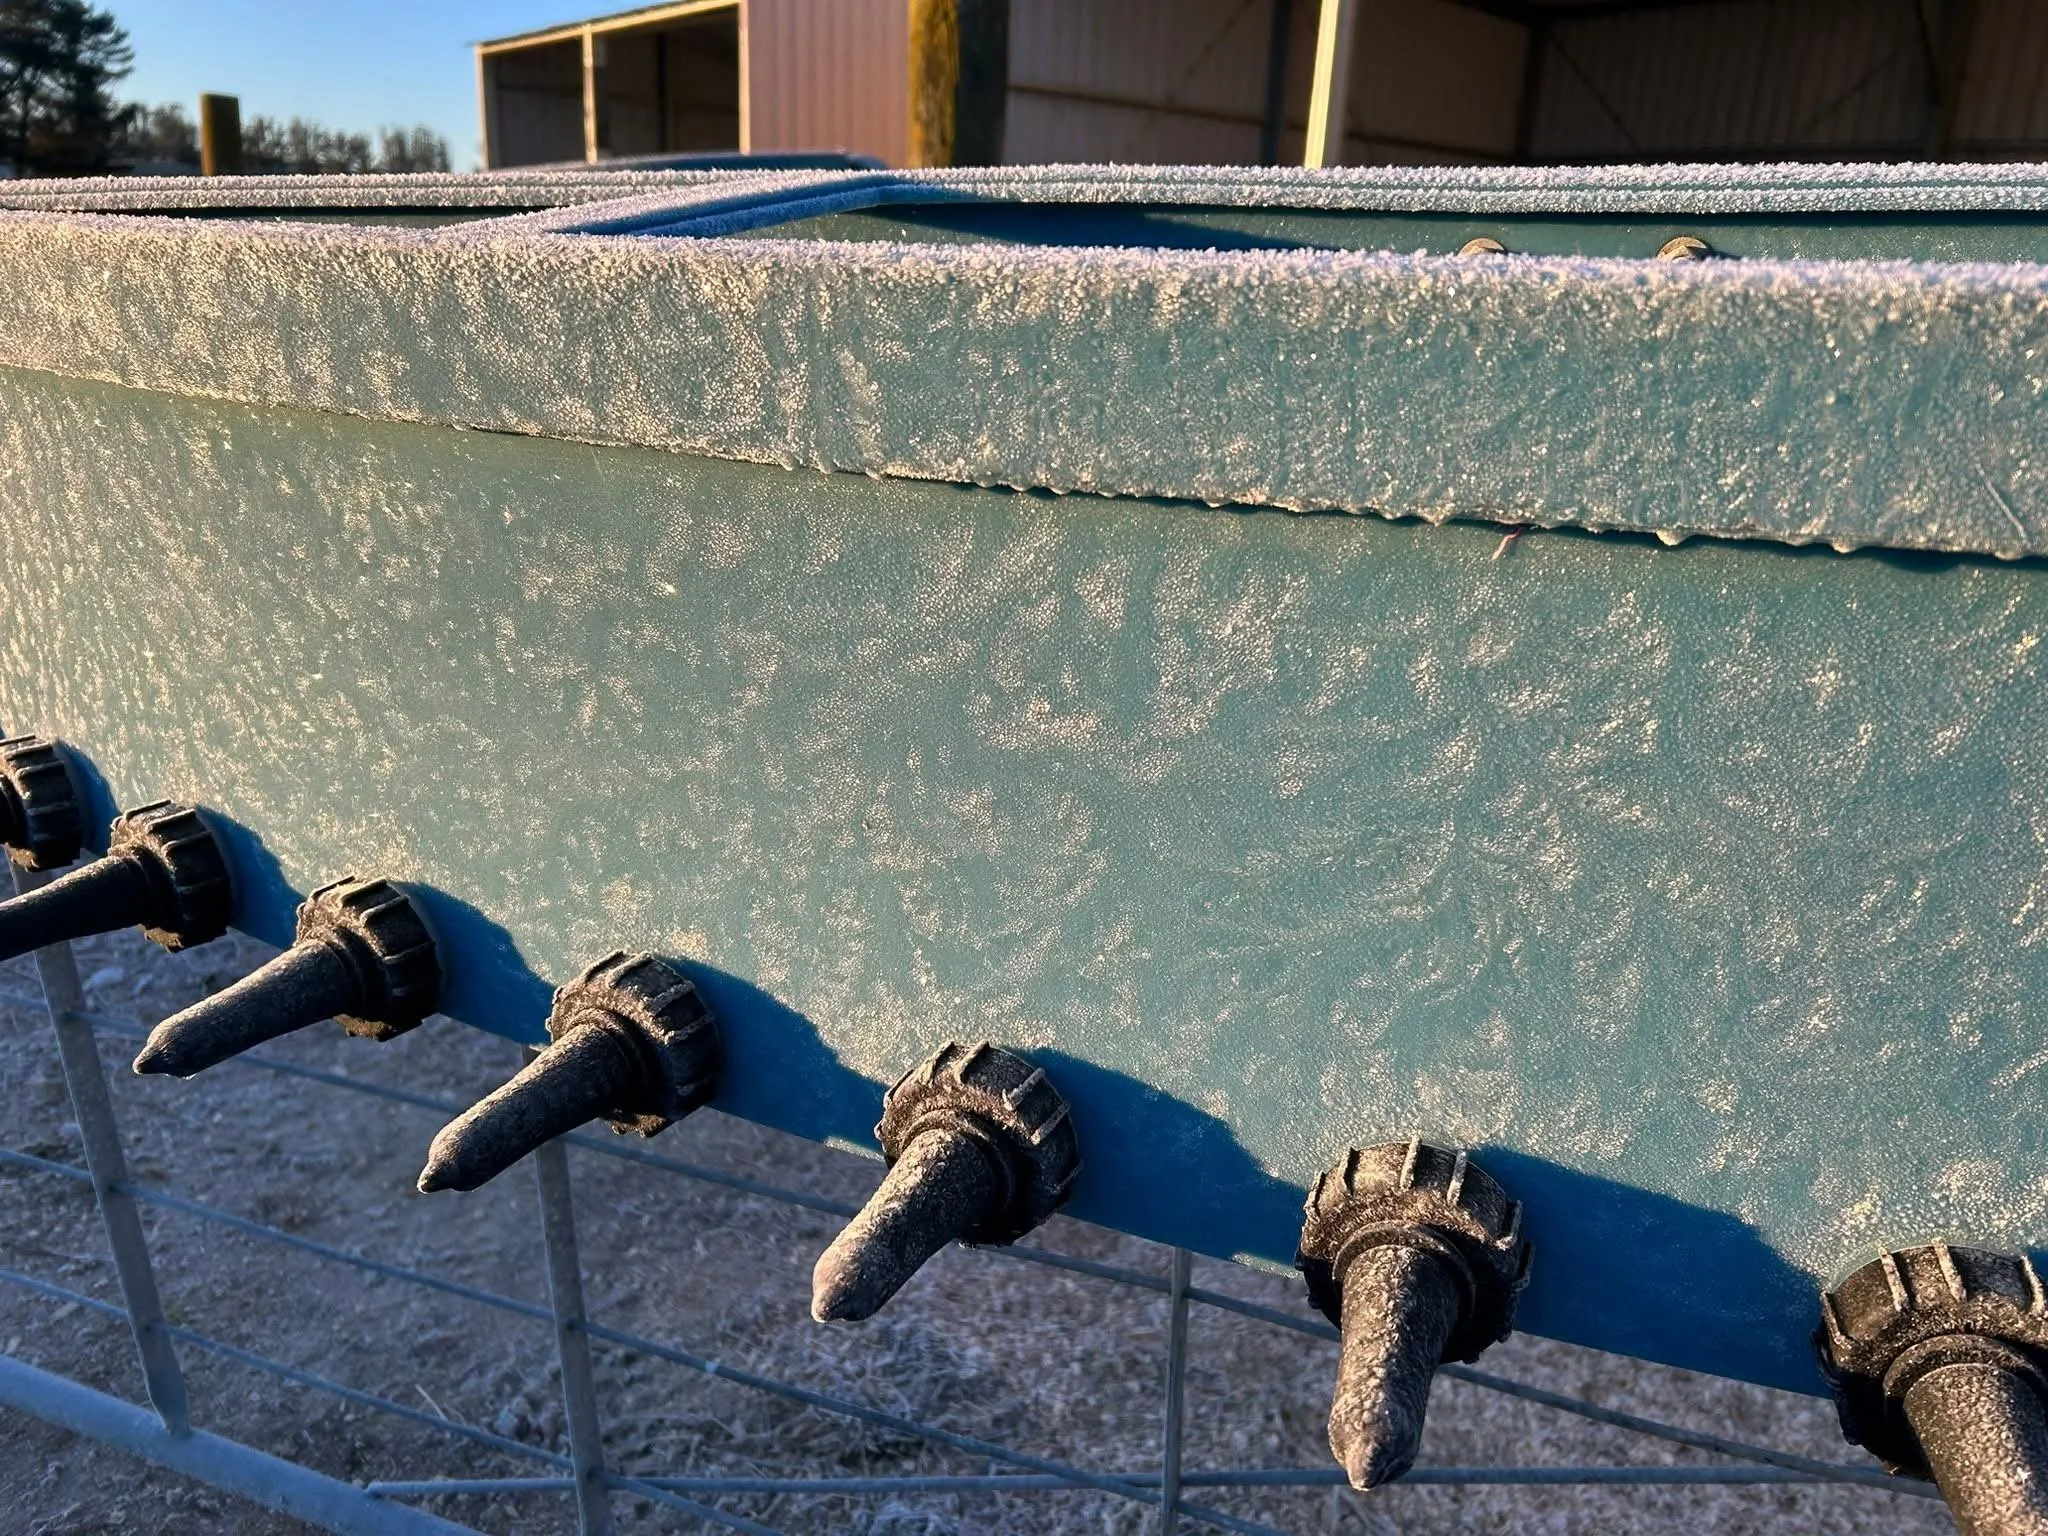
Don’t Forget the Roofs
While the focus is often on the paddocks, now is also a good time to inspect herd homes, feed pads, and farm buildings for moss and mold. Slippery concrete and deteriorating cladding are more than an eyesore — they’re a risk to safety and an investment at risk.
A drone-applied moss and mold treatment is a cost-effective way to protect those structures heading into the wet season. We can treat large roofs or yard areas with minimal downtime and no need for ladders or scaffolds.

Plan Now, Spray Later
Whether it's setting up a cropping block, managing early weeds, or prepping for a pasture booster like ProGibb, the best time to plan it is now — not when the rush begins.
And if you’d rather not add one more job to the list, we’re happy to help. Book ahead, and we’ll take care of the rest.
JD Drone Services – Agricultural Drone Spraying for Waikato & BOP Farms
📞 027 921 0192 | 📧 jeremy@jddroneservices.co.nz
🌐 www.jddroneservices.co.nz
How to Improve Pasture Quality: Step-by-Step Strategies
It all begins with an idea.
A lush, resilient pasture is more than a backdrop for grazing stock—it’s the foundation of productivity, animal health, and long-term farm profitability. For New Zealand farmers and landowners, the quality of pasture directly shapes everything from stock performance and feed costs, to environmental stewardship and the resilience of the farming system itself. Yet, even the best-managed land can face stubborn challenges: patchy growth, persistent weeds, soil fatigue, or the unpredictable swings of weather.
Unlocking the full potential of your pasture doesn’t have to be a guessing game. By following a set of proven, practical steps—beginning with the soil beneath your boots and moving through to the latest in targeted aerial applications—you can transform tired paddocks into thriving feed bases. This guide lays out ten clear strategies, each building on the last, to help you make informed decisions and adopt techniques that deliver real results. Whether you’re looking to boost pasture growth, sharpen your nutrient use, or adopt smarter spraying solutions, you’ll find actionable advice here to lift both productivity and sustainability on your land.
Let’s get started with the first step: establishing a solid understanding of your soil’s health.
Step 1: Assess Soil Health with Comprehensive Testing
Before you can improve pasture quality, you need a clear snapshot of your soil’s current condition. Soil health underpins everything from root development and nutrient uptake to water infiltration and microbial activity. Testing every paddock builds a baseline that guides fertiliser, liming and grazing decisions—saving time and money in the long run.
Aim to test every 2–3 years, or whenever you’re establishing new pasture. In New Zealand, the ideal window is autumn or winter, when soils are moist and relatively stable. That way, you’ll capture realistic nutrient levels and pH readings without the spring flush skewing results.
Conduct soil sampling for pasture
Gather your tools: a soil corer or auger, a clean bucket, sample bags and clear labels. For surface nutrients, collect cores from 0–10 cm; if you suspect deeper subsoil issues (compaction or nutrient tie-up), take additional samples to 20 cm.
In each paddock, aim for 10–15 cores spread evenly to create a composite mix. This evens out “hot spots” like old dung heaps or shady corners. After each paddock, wash or wipe your corer to avoid cross-contamination. Label samples with paddock name, date and depth before sending them off to a reputable lab.
Interpret soil test results
When your lab report arrives, focus on the parameters that most influence pasture growth:
pH (aim for 5.8–6.2)
Phosphorus (P index 2–3)
Potassium (K index 3–5)
Sulphur (S)
Calcium (Ca) and magnesium (Mg)
Organic matter percentage
If pH dips below 5.8, clover struggles; P or K below target can limit root development and stress tolerance. Some labs use colour-coded charts—green for “good”, amber for “action” and red for “urgent”—which help you prioritise paddocks at a glance.
Determine target soil nutrient indices
Every paddock has its own profile: soil type, stocking rate and desired clover content all influence your targets. Start by listing current test values alongside the ideal range for New Zealand pastures, then adjust for local conditions. For example:
Parameter Current Target pH 5.4 5.8–6.2 Phosphorus (P) 1 2–3 Potassium (K) 2 3–5 Organic matter 4% 5–6%
Use this “current vs target” table to set clear actions—whether that’s liming to raise pH, applying P-rich fertiliser or boosting organic matter through clover integration. Over time, you’ll build a tailored roadmap that keeps each paddock on track for high-yield, resilient pasture.
Step 2: Develop a Nutrient Management Plan
A robust nutrient management plan turns your soil test data into practical action. By mapping out nutrient inputs and outputs, identifying risk areas on your farm and setting a clear timetable for fertiliser applications, you’ll use resources more efficiently, save money and safeguard waterways. Think of it as a farm-wide blueprint: it outlines what goes in (and why), where to apply it, and when to revisit your decisions.
Your plan should include four key components:
A nutrient budget that balances inputs (fertiliser, biological nitrogen fixation from clover, effluent) against outputs (milk or meat production, leaching and gaseous losses).
A map of land management units, highlighting soil types, slopes and proximity to streams or drains.
An environmental risk assessment that flags sensitive zones needing extra care.
An action schedule with fertiliser rates and application windows, plus reminders for record-keeping and annual reviews.
Create a nutrient budget
A nutrient budget is simply a comparison of what your pasture takes up versus what you supply. Start by listing all sources of nitrogen, phosphorus and potassium on your farm—this might include bagged fertiliser, the N fixed by white clover and any effluent applications. Against these, tally outputs such as kilograms of N removed in milk or meat, plus estimates of nitrogen lost through leaching and volatilisation.
To keep everything on track, refer to the Waikato Regional Council’s nutrient budgeting guidelines. A simple spreadsheet could have columns for “Source”, “kg N/ha input” and “kg N/ha output”, followed by a “Surplus/Deficit” column. Running this annually helps you see where you’re oversupplying nutrients or where a shortfall could limit pasture growth.
Map land management units and assess risk
Divide your farm into zones with similar soil texture, slope and risk of runoff. Steeper paddocks or those within 20 m of waterways form high-risk categories, where you’ll want lower application rates or buffer-strip measures. Flatter, well-drained areas may tolerate higher nutrient inputs.
A hand-drawn sketch works, but GIS or farm-management software adds accuracy—just import your soil-test paddocks and overlay contour lines or riparian margins. This visual guide ensures nutrients go where they’re needed most, while environmentally sensitive areas stay protected.
Set fertiliser recommendations and timelines
Translate your nutrient budget into practical fertiliser rates for each paddock. For instance, if P levels are below index 2, plan a one-off P application of 20–30 kg/ha in early spring. Nitrogen dressings might be split into three or four rounds—autumn, early spring, late spring and possibly early summer—at 20–30 kg N/ha each.
Record every application in a farm diary or digital log, noting date, paddock, product, rate and weather. At the end of each season, review your records alongside pasture growth data and soil-test results. Adjust rates or timings as needed to fine-tune inputs and keep both your wallet and the environment in better shape.
Step 3: Apply Lime to Optimise Soil pH
Acidic soils can tie up essential nutrients such as phosphorus and molybdenum, and inhibit the rhizobia responsible for clover’s nitrogen fixation. When pH falls below optimal levels (around 5.8), grass growth slows, clover struggles to establish and aluminium toxicity can stunt root development. Liming reverses these effects, improving nutrient availability, encouraging deep roots and helping pastures resist stress and persist through the seasons.
By using your soil-test results to calculate lime requirements, choosing the right product and timing applications carefully, you’ll create a more balanced soil environment. The payoff is stronger, clover-rich pastures that need fewer inputs over time and deliver more consistent feed throughout the year.
Determine lime requirement from soil test
Calculating how much lime to apply starts with your soil’s current pH and buffer index (often reported as “B” or “CEC”). Labs usually recommend the lime tonnage needed to move your pH to the target range:
Find your current pH (for example 5.4) and the desired pH (6.0).
Check the soil buffer index to see how quickly your soil resists pH change.
Use the formula or table provided by the lab to determine tonnes per hectare (t/ha).
Example: on a silt loam with a buffer capacity that matches local guidelines, raising pH from 5.4 to 6.0 typically requires around 3 t/ha of lime. Double-check with your testing laboratory’s recommendation; small variations in soil texture or organic matter can change the figure.
Choose lime type and particle size
Not all lime is the same—choose the right composition and grind size for faster reaction and best value:
Calcitic lime contains mostly calcium carbonate (CaCO₃).
Dolomitic lime adds magnesium carbonate (MgCO₃), useful if magnesium levels are low.
Finer grades (greater proportion passing a 0.15 mm sieve) react more quickly but cost more per tonne.
Coarser grades are cheaper but take longer to break down.
Look for products that meet the New Zealand Agricultural Lime Quality Council specifications (AMS 1) to ensure neutralising value and purity. Your choice will depend on soil magnesium status, budget and how quickly you need the pH adjustment.
Plan application methods and timing
To give lime time to neutralise acidity before the spring growth surge, plan to spread in autumn or winter:
Calibrate your spreader at low application rates (1–3 t/ha) to achieve even coverage.
Run a test pass with water or sand to mark wheel tracks and check overlap.
Apply on a low-wind day to minimise drift, then graze lightly to avoid soil compaction.
Record the date and rate in your farm diary. Re-test soil pH about 12 months later to confirm the change and plan any topping-up. Over time, this regular liming schedule will maintain pH in the ideal 5.8–6.2 range and support vigorous, clover-rich pastures year after year.
Step 4: Select and Apply Appropriate Fertiliser Timed to Pasture Needs
A key to unlocking pasture performance is not just the amount you apply, but choosing the right product at the right time. Grass and clover have distinct nutrient demands as they move through growth stages: nitrogen drives leafy growth in ryegrass, phosphorus supports root development and legume establishment, and potassium aids stress tolerance during dry spells or heavy grazing. By aligning fertiliser inputs with pasture phenology, you’ll see better responses per dollar spent, reduced nutrient losses and a more balanced sward.
Understand fertiliser types and pasture requirements
Every fertiliser blend brings a unique mix of nutrients:
Nitrogen (N): Promotes rapid leaf growth, especially in cool seasons. Best split into several dressings to maintain steady supply.
Phosphorus (P): Critical for strong roots, energy transfer and nucleic acid synthesis—vital for clover nodulation and early spring tillering.
Potassium (K): Regulates water use, improves frost tolerance and helps grasses recover from grazing.
Sulphur (S): Often overlooked, but essential for clover protein synthesis and seed production.
Trace elements (e.g. molybdenum, copper): Applied only when soil tests or animal health data indicate a deficiency.
Matching blend to pasture make-up is crucial. If clover comprises more than 20% of your sward, ensure a S-rich formula; on predominantly grass paddocks, choose a higher N:K ratio. Always refer to your soil-test report to confirm which elements will give the greatest response.
Determine application rates and schedules
A practical fertiliser calendar might look like this:
Season Application Typical Rate Late autumn Maintenance N 20–25 kg N/ha Early spring P & K 15–20 kg P/ha, 20 kg K/ha Late spring Top-up N 20–30 kg N/ha Early summer (opt.) Final N dressing 15–20 kg N/ha
For nitrogen, splitting the total seasonal requirement into three or four doses (rather than one heavy spring application) smooths growth curves, reduces leaching risk and lets you react to weather. A typical annual P dress-out of 20 kg/ha (index 2 target) will maintain root vigour and clover health, while K at 20–30 kg/ha strengthens turf and enhances drought resilience.
Keep a simple log—date, paddock, product, rate—to track inputs and compare them to pasture cover and animal performance. This record-keeping makes it easy to spot when a paddock consistently under- or over-performs and fine-tune your plan.
Follow best-practice application methods
Precise application is as important as correct rates. A few guidelines will help you nail even coverage and minimise off-target loss:
Calibrate your spreader before each season. Weigh a known volume of fertiliser, run it through the spreader, then calculate the actual rate (kg/ha).
Check wind speed: keep applications to days under 10 km/h to avoid drift, particularly near watercourses or sensitive areas.
Use buffer zones of at least 5 metres from streams and drains. If you’re in a high-risk zone, consider wider setbacks or cover crops to capture any runoff.
Wear appropriate personal protective equipment—gloves, mask and eye protection—and follow label safety instructions on mix, spread and clean-up.
Shut off the spreader before turning or crossing fence lines to avoid double-dosing corners.
By combining accurate product selection, a realistic schedule and careful application, you’ll stretch each fertiliser dollar further, support a productive, balanced pasture sward and protect the environment at the same time.
Step 5: Improve Grazing Management through Rotational Practices
How you graze often matters more than what you graze. Shifting from continuous to rotational grazing lets plants recover, maintains a balanced sward and maximises feed on offer. By subdividing paddocks, moving stock at the right time and giving pasture spells, you’ll see more even utilisation, deeper root systems and less bare ground—ultimately translating into better animal performance and more resilient pastures.
Design a rotational grazing system
Start by breaking larger paddocks into smaller “cells” or strips. Aim for at least six to eight subdivisions per grazing block, depending on stock numbers and farm layout. Smaller cells mean you can move animals more frequently—sometimes daily—which encourages even grazing and prevents selective habit.
To sketch a basic eight-cell rotation:
Cell Graze Days Rest Days 1 1–4 5–32 2 5–8 9–36 3 9–12 13–40 … … … 8 29–32 33–60
Keep water within 200 m of every cell. Mobile troughs or mains-fed lines help make new subdivisions practical—stock won’t trudge to the same corner every time. Fencing can be fixed or electric, and simple stakes and tape often work for paddock breaks in a low-cost setup.
Optimise stocking density and rotation intervals
Rather than sticking to calendar dates, move stock based on pasture growth. A useful rule of thumb for ryegrass is to start grazing at the three-leaf stage (around 1,200–1,400 kg DM/ha) and remove animals at the two-leaf stage (800–1,000 kg DM/ha). Measuring pre- and post-grazing sward height—20–25 mm in front of the boot pre-grazing and 40–50 mm after—helps you hit these targets.
Adjust your stocking density so each cell gets grazed for just a few days, then rests for up to 35 days. If pasture growth slows (drought or winter), you may need to reduce numbers or merge cells to maintain adequate residuals. Conversely, during rapid spring growth, shorter rest periods and extra subdivisions prevent topping and leaf loss from ageing forage.
Utilise spelling and deferred grazing
“Spelling” means taking a paddock out of the regular rotation for an extended period—often long enough for seed set and full recovery. Deferred grazing serves a similar purpose, giving areas a break during critical growth phases. Both approaches build pasture vigour, improve root structure and protect soil from pugging or compaction.
Reserve at least 5–10 % of your farm for spelling each year. You can spell paddocks in rotation, so every area gets a full season off of grazing every few years. In practice, this might look like:
Autumn spell: Rest paddocks from mid-March to July to allow grass to bulk up, store root reserves, and drop seed.
Spring deferred: Hold back grazing on wet slopes or exposed faces until plants have reached full tiller expansion.
Spelled blocks also act as an emergency feed reserve in drought or system shocks. Over time, spelling and deferred grazing work wonders for plant diversity, sward density and overall pasture resilience—laying the groundwork for higher yields season after season.
Step 6: Control Weeds and Unwanted Species
Persistent weeds not only compete with desirable grasses and clover for sunlight, water and nutrients, they can also reduce palatability and create patches of bare soil prone to erosion. An integrated weed control strategy—combining careful monitoring, selective herbicide use and cultural practices—will help you suppress unwanted species and strengthen your pasture’s botanical balance.
Begin by knowing which weeds you’re up against. That lets you choose the most effective control method, whether that’s a targeted chemical treatment, a quick mechanical removal or longer-term cultural tweaks in your grazing routine. Breaking the weed lifecycle before seed set is crucial; regular checks and prompt follow-up treatments ensure that one season’s problem doesn’t become next season’s headache.
Identify common pasture weeds
Weeds vary in their growth habits, emergence windows and resistance to control measures. Here are five of the most frequent pasture invaders in New Zealand:
Spear thistle (Cirsium vulgare): A deep taproot makes mechanical removal difficult; rosette stage spraying in spring gives the best chemical control.
Ragwort (Senecio jacobaea): Highly toxic to livestock, it often appears in bare patches. Treat before flowering to stop seed spread.
Plantain (Plantago lanceolata): Tolerant of close grazing, plantain can form dense colonies that reduce grass cover. An autumn spray can help.
Dock (Rumex spp.): Docks regenerate from root fragments, so both chemical knock-out and careful cultivation may be needed.
Buttercup (Ranunculus spp.): Thrives in damp, overgrazed areas. Improve drainage and rest paddocks to reduce outbreaks.
Walk each paddock every six to eight weeks, noting species, density and growth stage. Early identification—before rapid seed production—gives you more control options and reduces the risk of chemical resistance.
Implement spot spraying and herbicide selection
When it comes to chemical control, precision is everything. Spot spraying delivers herbicide only where it’s needed, cutting both costs and off-target impact. For broadleaf weeds like thistles and docks, MCPA formulations are often the go-to choice; ragwort responds well to glyphosate mixes in its rosette stage. Always follow label instructions for dose rates, application speed and withholding periods.
Drone-assisted spot spraying is an increasingly popular option for large or difficult terrain. A drone’s GPS-guided system can apply just a few litres of mix to each infestation, with accuracy down to the square metre. This minimises drift and saves up to 30% on chemical volumes compared to traditional boomspray methods. Whether you’re targeting a handful of patches along fence lines or scanning broad acres for emerging weeds, aerial technology offers speed and consistency.
Monitor and follow up control measures
Effective weed control is a cycle of action and review. After any treatment:
Schedule a paddock walk four to six weeks later to assess kill rate and look for new seedlings.
Record the date, product, target species and percentage of coverage in your farm diary.
If more than 10% of the infestation remains, plan a follow-up spray or mechanical removal before flowering.
Adjust your grazing rotation to avoid over-utilising treated paddocks—allow a short rest period to let the pasture recover fully.
By combining regular monitoring with targeted interventions, you’ll keep unwanted species in check without over-relying on sprays. Over time, pastures will shift towards more desirable grasses and clover, boosting overall yield, feed quality and resilience.
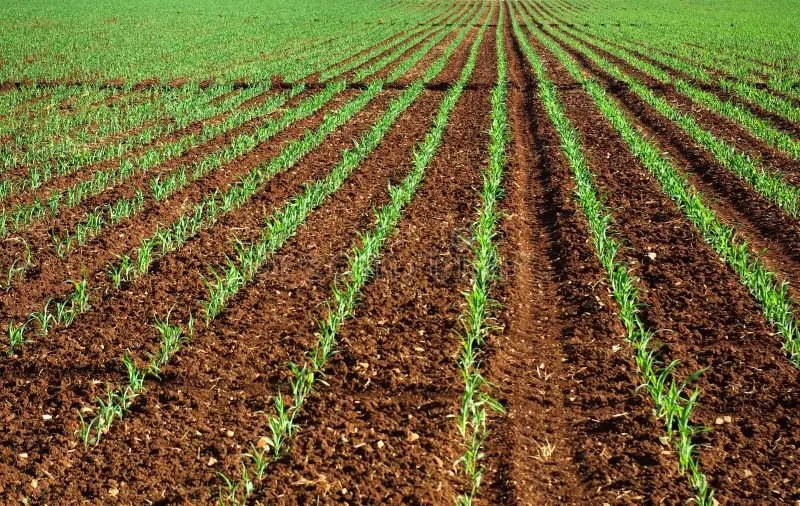
Step 7: Select, Sow, and Establish High-Performing Forage Species
Even with ideal soil, nutrients and grazing, pastures lose vigour over time or after extreme weather. Choosing the right moment to bring in fresh genetics—through renovation or oversowing—can reinvigorate your sward, boost yield and enhance resilience. Matching species to your region’s rainfall, soil type and stocking rate ensures you get the most out of every seed. By selecting proven cultivars, preparing seedbeds carefully and using best-practice sowing techniques, you’ll set new pastures up for success from day one.
Assess the need for reseeding or renovation
Before reaching for the drill, take stock of your existing pasture. If more than 30% of your paddock is covered in weeds, or you’re struggling to hit yield targets despite good management, it’s time to consider renovation. A poor botanical mix—too few legumes or over 20% bare ground—also signals that fresh seed is needed. For minor gaps, interseeding into the live sward may suffice; for paddocks at or below index thresholds in soil tests, a full re-sow following cultivation could deliver better returns.
When you decide to renovate, start by grazing or mowing lightly to remove excess bulk. Cultivate or power harrow only if necessary—disturbing the soil can increase erosion risk. Firm, level seedbeds with fine tilth give small seeds, especially clovers, the best chance of soil contact and moisture uptake. Soil temperatures above 8°C and soil moisture around field capacity in autumn or spring create the ideal window for establishment.
Choose improved pasture cultivars
Not all ryegrasses are created equal. For reliable advice, turn to the DairyNZ ryegrass guide, which compares cultivars by yield profile, persistence and seasonal growth patterns. Perennial ryegrasses suit high-performance systems, delivering steady growth and strong winter recovery. Hybrid ryegrasses often provide higher summer yields, while Italian (annual) ryegrasses excel as short-term break crops.
Legumes are the nitrogen engine of your pasture. White clover thrives in close-grazed dairy pastures and fixes up to 200 kg N/ha annually. Red clover offers deeper roots and better drought tolerance on hill country, whereas subterranean clover can fill bare patches naturally if soil pH and phosphorus are at target levels. Look for cultivars with disease resistance, high seed yield and compatibility with your chosen grasses for a balanced mix.
Plan seeding techniques and rates
Direct drilling sits at the top of the toolkit for reliable seed placement with minimal soil disturbance. Aim to sow perennial ryegrass at around 20 kg/ha, supplemented by 4–6 kg/ha of clover seed. In heavier soils, reduce ryegrass to 15 kg/ha and bump clover to 8 kg/ha to improve nitrogen supply and ground cover. On lighter textures, a higher grass component (up to 25 kg/ha) may help avoid pugging.
Interseeding existing swards works best in early autumn when grass competition wanes. Use tine or disc seeders to place seed 5–10 mm deep, then roll or pack to ensure good soil–seed contact. After sowing, rest the paddock for 4–6 weeks—graze gently to encourage clover seedlings but avoid over-compaction. Regular monitoring during this period lets you spot patchy areas needing a touch-up before full grazing resumes.
Step 8: Manage Soil Moisture and Improve Drainage
Too much or too little water can quickly undo all your hard work on nutrients and seedbeds. Waterlogged soils suffocate roots, slow microbial activity and open the door to pugging and bare patches, while drought-stricken paddocks turn lush swards into brittle stubble. By tackling both ends of the spectrum—improving drainage where water pools and conserving moisture in drier zones—you’ll create a more consistent growing environment for grass and clover.
A well-drained, aerated soil buffers rainfall, prevents anaerobic “dead zones” and helps you keep more of the moisture that does arrive. Coupled with targeted aeration to relieve compaction, these measures will encourage deeper roots, boost nutrient uptake and reduce wash-off into waterways.
Assess drainage and soil texture
Start by walking your paddocks after a heavy rain. Look out for:
Persistent puddles or soft, spongy ground
Tracked-in mud from animals, especially in gateways
Sections where grasses like cocksfoot or tall fescue retreat
If you want a quick on-farm check, sink a metal cylinder into the soil, pour in a known volume of water and time how long it takes to disappear—this informal infiltrometer test flags areas where percolation is too slow. Pair that with a simple hand-feel test: squeeze soil in your palm—if it stays in a ball and oozes water, drainage is poor. Map these trouble spots so you can match them to soil-type data or contour lines.
Install effective drainage systems
Once you’ve identified poorly drained paddocks, choose the right drainage solution for the scale and soil type:
Open drains: shallow channels (15–30 cm deep) along the contour or at the low point of a block. They’re easy to maintain and work well on gently sloping land.
Mole drains: a narrow, water-jet-driven “tunnel” roughly 0.1–0.15 m in diameter and 0.5–1 m deep. Ideal for heavy clays that don’t suit tile drains, best installed in autumn when soils are moist but not waterlogged.
Tile drains: perforated pipes laid on a gentle fall (about 1:200 to 1:500 gradient) at depths of 0.5–1 m, spaced 10–20 m apart depending on drainage class. They offer a long-term fix on medium-textured soils.
For all systems, maintain a minimum fall so water moves freely—aim for at least 1 metre of drop per 200 metres. After installation, keep channels clear of debris and reinspect drains each season to catch blockages early. Good drainage not only reduces waterlogging but also deters broadleaf weeds that thrive in wet ground.
Use aeration to relieve compaction
Aeration complements drainage by opening channels for air and water to penetrate compacted layers. Plan tine aeration in late winter or very early spring, before growth takes off:
Tine depth: 8–10 cm, to fracture the topsoil without damaging deeper structures.
Tine spacing: 4–6 tines per square metre, ensuring sufficient coverage without over-disturbing the sward.
The benefits are immediate: improved infiltration of spring rains, stronger root development and enhanced microbial activity. After aeration, give pastures a light dressing of maintenance nitrogen or phosphate to kickstart recovery—roots will explore more of the soil profile, making the most of both moisture and nutrients. Over time, regular aeration (every two to three years) will keep soils friable and support a deeper, more resilient root system that weathers both heavy downpours and summer dry-spells.
Step 9: Utilise Precision Spraying Technologies for Targeted Applications
Precision spraying using drones is transforming how farmers tackle weeds, pests and surface treatments. By delivering chemicals exactly where they’re needed, aerial platforms cut waste, reduce drift and protect sensitive areas—whether that’s steep paddocks, riparian strips or infrastructure. Below, we explore the advantages of drone-based systems, the range of services available from JD Drone Services and the protocols that ensure safe, effective operations.
Benefits of drone-based spraying
Drone spraying offers several clear advantages over traditional methods:
Speed and scale: Modern agricultural drones can cover up to 50 ha per hour, ideal for broadacre farms under tight time constraints.
Precision and reduced chemical use: GPS-guided nozzles apply product within centimetre accuracy, often cutting chemical volumes by 20–30 %.
Minimal drift: Low-altitude flight and controlled releases keep sprays on target and away from waterways or sensitive habitats.
Access to challenging terrain: Steep slopes, wet gullies or fenced‐off ponds become serviceable without risking operator safety.
Cost savings in real cases: A 500 ha Canterbury sheep and beef property reported a 20 % reduction in herbicide spend after switching to drone spot treatments.
Types of drone spraying services
JD Drone Services provides a suite of precision aerial spraying options to suit diverse land-management needs:
Broadacre pasture spraying
Uniform blanket applications for maintenance N, P and K blends via our Broad Acre Pasture Spraying service.Spot spraying for targeted weed control
Ideal for thistle, ragwort or dock patches along fence lines and drains. Our Target Weed Control service applies micro-doses exactly where needed.Moss and mould treatments
Safe, hands-free removal of moss and mould from roofs, hardstands or feeding pads using our Moss and mould treatments.
Each service uses bespoke nozzle configurations and flow rates to match pasture density and product characteristics, ensuring every litre counts.
Best practices for safe and effective operation
Maximise the benefits of drone spraying by adhering to these operational protocols:
Calibration checks: measure nozzle output with a graduated cylinder (L/min) and adjust pressure to hit labelled rates.
Pre-flight inspections: verify rotor, boom and tank integrity; update firmware and confirm GPS accuracy.
Operator training and certification: all pilots hold a current GVC (General VLOS Certificate) or equivalent and complete in-house procedure reviews.
Weather considerations: fly only in winds below 10 km/h, avoid temperature inversions and steer clear of rain to maintain consistent droplet distribution.
Battery and payload management: calculate flight duration with reserve margin, balance payload to preserve flight stability and monitor voltage throughout.
Detailed record-keeping: log flight paths, payload mixes, weather data and application outcomes to refine future spray plans.
By combining cutting-edge drone platforms with robust training and rigorous checks, you’ll deliver precise, cost-effective treatments that boost pasture health while minimising environmental impact.
Step 10: Monitor Pasture Condition and Refine Management
Improving pasture quality is an ongoing journey, not a one-off project. Once you’ve tested, planned, applied inputs and managed grazing, the final—and arguably most important—step is to monitor performance and tweak your approach. By routinely assessing pasture condition, leveraging modern data tools and reviewing your records, you’ll spot trends early, pinpoint underperformers and adjust inputs or practices before small issues become big problems.
Use pasture condition scoring and visual checks
A simple yet effective way to track sward health is the DairyNZ Pasture Condition Score Tool. It uses a scale from 0 (bare ground) to 10 (luxuriant, rank growth) and factors in sward height, ground cover and botanical composition. During regular paddock walks, record:
Sward height in millimetres (aim for 1,200–1,400 kg DM/ha or roughly 1,200–1,400 mm of leafy material).
Ground cover percentage (target 80–90% to protect soil and suppress weeds).
Dominant species mix (noting grass vs clover ratio and any unwanted plants).
A consistent scoring routine—say, every four weeks—builds a visual time-series that shows how quickly paddocks recover after grazing or respond to fertiliser. Colour-coded paddock maps help you compare performance across your farm and decide where to focus attention next.
Incorporate remote sensing and satellite data
Beyond boots-on-the-ground checks, satellite and drone-based imagery can fill in the gaps, especially on larger properties. Services like VegMachine use NDVI (Normalized Difference Vegetation Index) to create growth-alert reports and cover maps. You can:
Track seasonal growth rates and identify paddocks lagging behind target curves.
Spot early signs of drought stress or waterlogging that might not be obvious at ground level.
Overlay soil-test or fertiliser application maps with NDVI data to see which inputs deliver the best response.
Interpreting these remote-sensed signals alongside your own condition scores delivers a 360° view of pasture performance—a powerful tool for refining grazing rotations, timing dressings or planning oversows.
Review records and adjust the plan
At the end of each season—or at least annually—sit down with your farm diary, soil-test reports, yield figures and grazing logs. Ask:
Which paddocks consistently met targets, and which fell short?
Did N, P or K dressings correlate with increases in growth or changes in sward composition?
How did rotational grazing intervals or spelling periods affect pasture recovery?
Are there new weed hotspots or drainage issues emerging?
Use these insights to update your nutrient budgets, reseeding plans or fencing layouts. Small tweaks—like shifting a fertiliser window by a few weeks or adding an extra subdivision to your rotation—can compound into significant gains in both productivity and resilience.
By closing the loop—plan, apply, monitor and adapt—you’ll keep your pastures on a continual upward trajectory. If you’d value an expert partner for aerial monitoring, precision spot-spraying or broadacre applications, visit JD Drone Services to discover how professional drone-based solutions can sharpen your management and lift pasture performance year after year.
Maintaining and Enhancing Pasture Quality Year-Round
Improving pasture is not a one-off project but a continuous cycle of planning, action and review. By aligning your management with seasonal demands—from soil testing in autumn to drought preparation in summer—you’ll keep swards productive, resilient and cost-effective all year.
Start each season with a quick check: revisit your soil-test and remote-sensing data, cross-reference with last year’s yield and condition scores, and update your nutrient budget. Then, tailor your activities to the calendar:
Autumn
• Conduct your comprehensive soil sampling while soils are moist.
• Apply lime and low-rate maintenance nitrogen to set pH and root reserves for spring.
• Plan any autumn sowing or oversowing of ryegrasses and clovers.Winter
• Inspect and clean drainage lines, mole or tile drains to avoid waterlogging.
• Spell a proportion of paddocks to allow seed-head drop and root recovery.
• Review your rotational grazing infrastructure—repair fences, reposition troughs.Spring
• Split your first nitrogen dressing into two or three applications to match rapid grass growth.
• Monitor new sown areas closely, flagging bare spots for quick reseeding or touch-ups.
• Check for early weed flushes and consider precise spot-spraying.Summer
• Keep an eye on soil moisture: defer grazing on vulnerable slopes and use spelled blocks as feed reserves.
• Adjust grazing intervals during dry spells to maintain residual cover and protect soil.
• Utilise drone-based NDVI imagery to detect stress zones and apply targeted treatments.
Through each of these seasonal cycles, maintain clear records: paddock maps, application logs and pasture-condition scores. That data lets you spot trends—both successes to replicate and underperformers to address—before small issues become costly problems.
If you’re looking for specialised aerial support—whether that’s broadacre dressings, pinpoint weed control or late-season moss and mould treatments—explore how JD Drone Services can partner with you. Their professional drone-based solutions streamline applications, reduce chemical use and keep your pastures in top shape throughout the year.